
Since I started making all my own bread at home back in August, I haven’t had a bagel – torture! I finally got up the courage to give it a shot, and I’m so happy I did. It’s really not so different than making other breads, you just put a hole in them and boil before you bake.
Speaking of that hole… whats with that? There is a ton of history behind the bagel, different kids of bagels, bagel hubs around the world, things to put on bagels etc… but I really wanted to research this week is the shape. Why is a bagel a ring? Is it practical or just tradition? Turns out it might be both.
The practical explanation has to do with the unique dough bagels are made out of – it is very dense, denser than french bread dough. The hole in the center of the dough may just ensure that the dense dough bakes and boils evenly – heat and water can circulate better around more surface area. I personally like this explanation.
Theories about the tradition behind the ring shaped bread are abundant. It’s said that in Poland expecting mothers received bagels because they were a symbol of the circle of life. Others say it was just a simple way to string them up on a street cart for selling purposes. And some believe it was a gesture from the Austrians to Polish King Jan III Sobieski – he saved them from Turkish invaders and loved to ride horses, so they made a bread in the shape of a stirrup. That last one is a little out there in my opinion…
But no matter what you believe, homemade bagels are delicious, way better than anything you’ll find in the grocery store and just as good as your local Brugger’s or Einstein’s. If you’ve made bread, you can made bagels, just go for it!
Homemade Basic Bagels
Makes 12 standard size (make twice as many mini bagels!)
Adapted from Smitten Kitchen’s Peter Reinhart’s Bagels post
Sponge
1 teaspoon yeast
4 cups unbleached bread flour
2 1/2 cups water, room temperature
Dough
1/2 teaspoon yeast
3 3/4 cups unbleached bread flour
2 3/4 teaspoons salt
2 teaspoons malt powder or 1 tablespoon malt syrup, honey, or brown sugar
Boiling
1 tablespoon baking soda
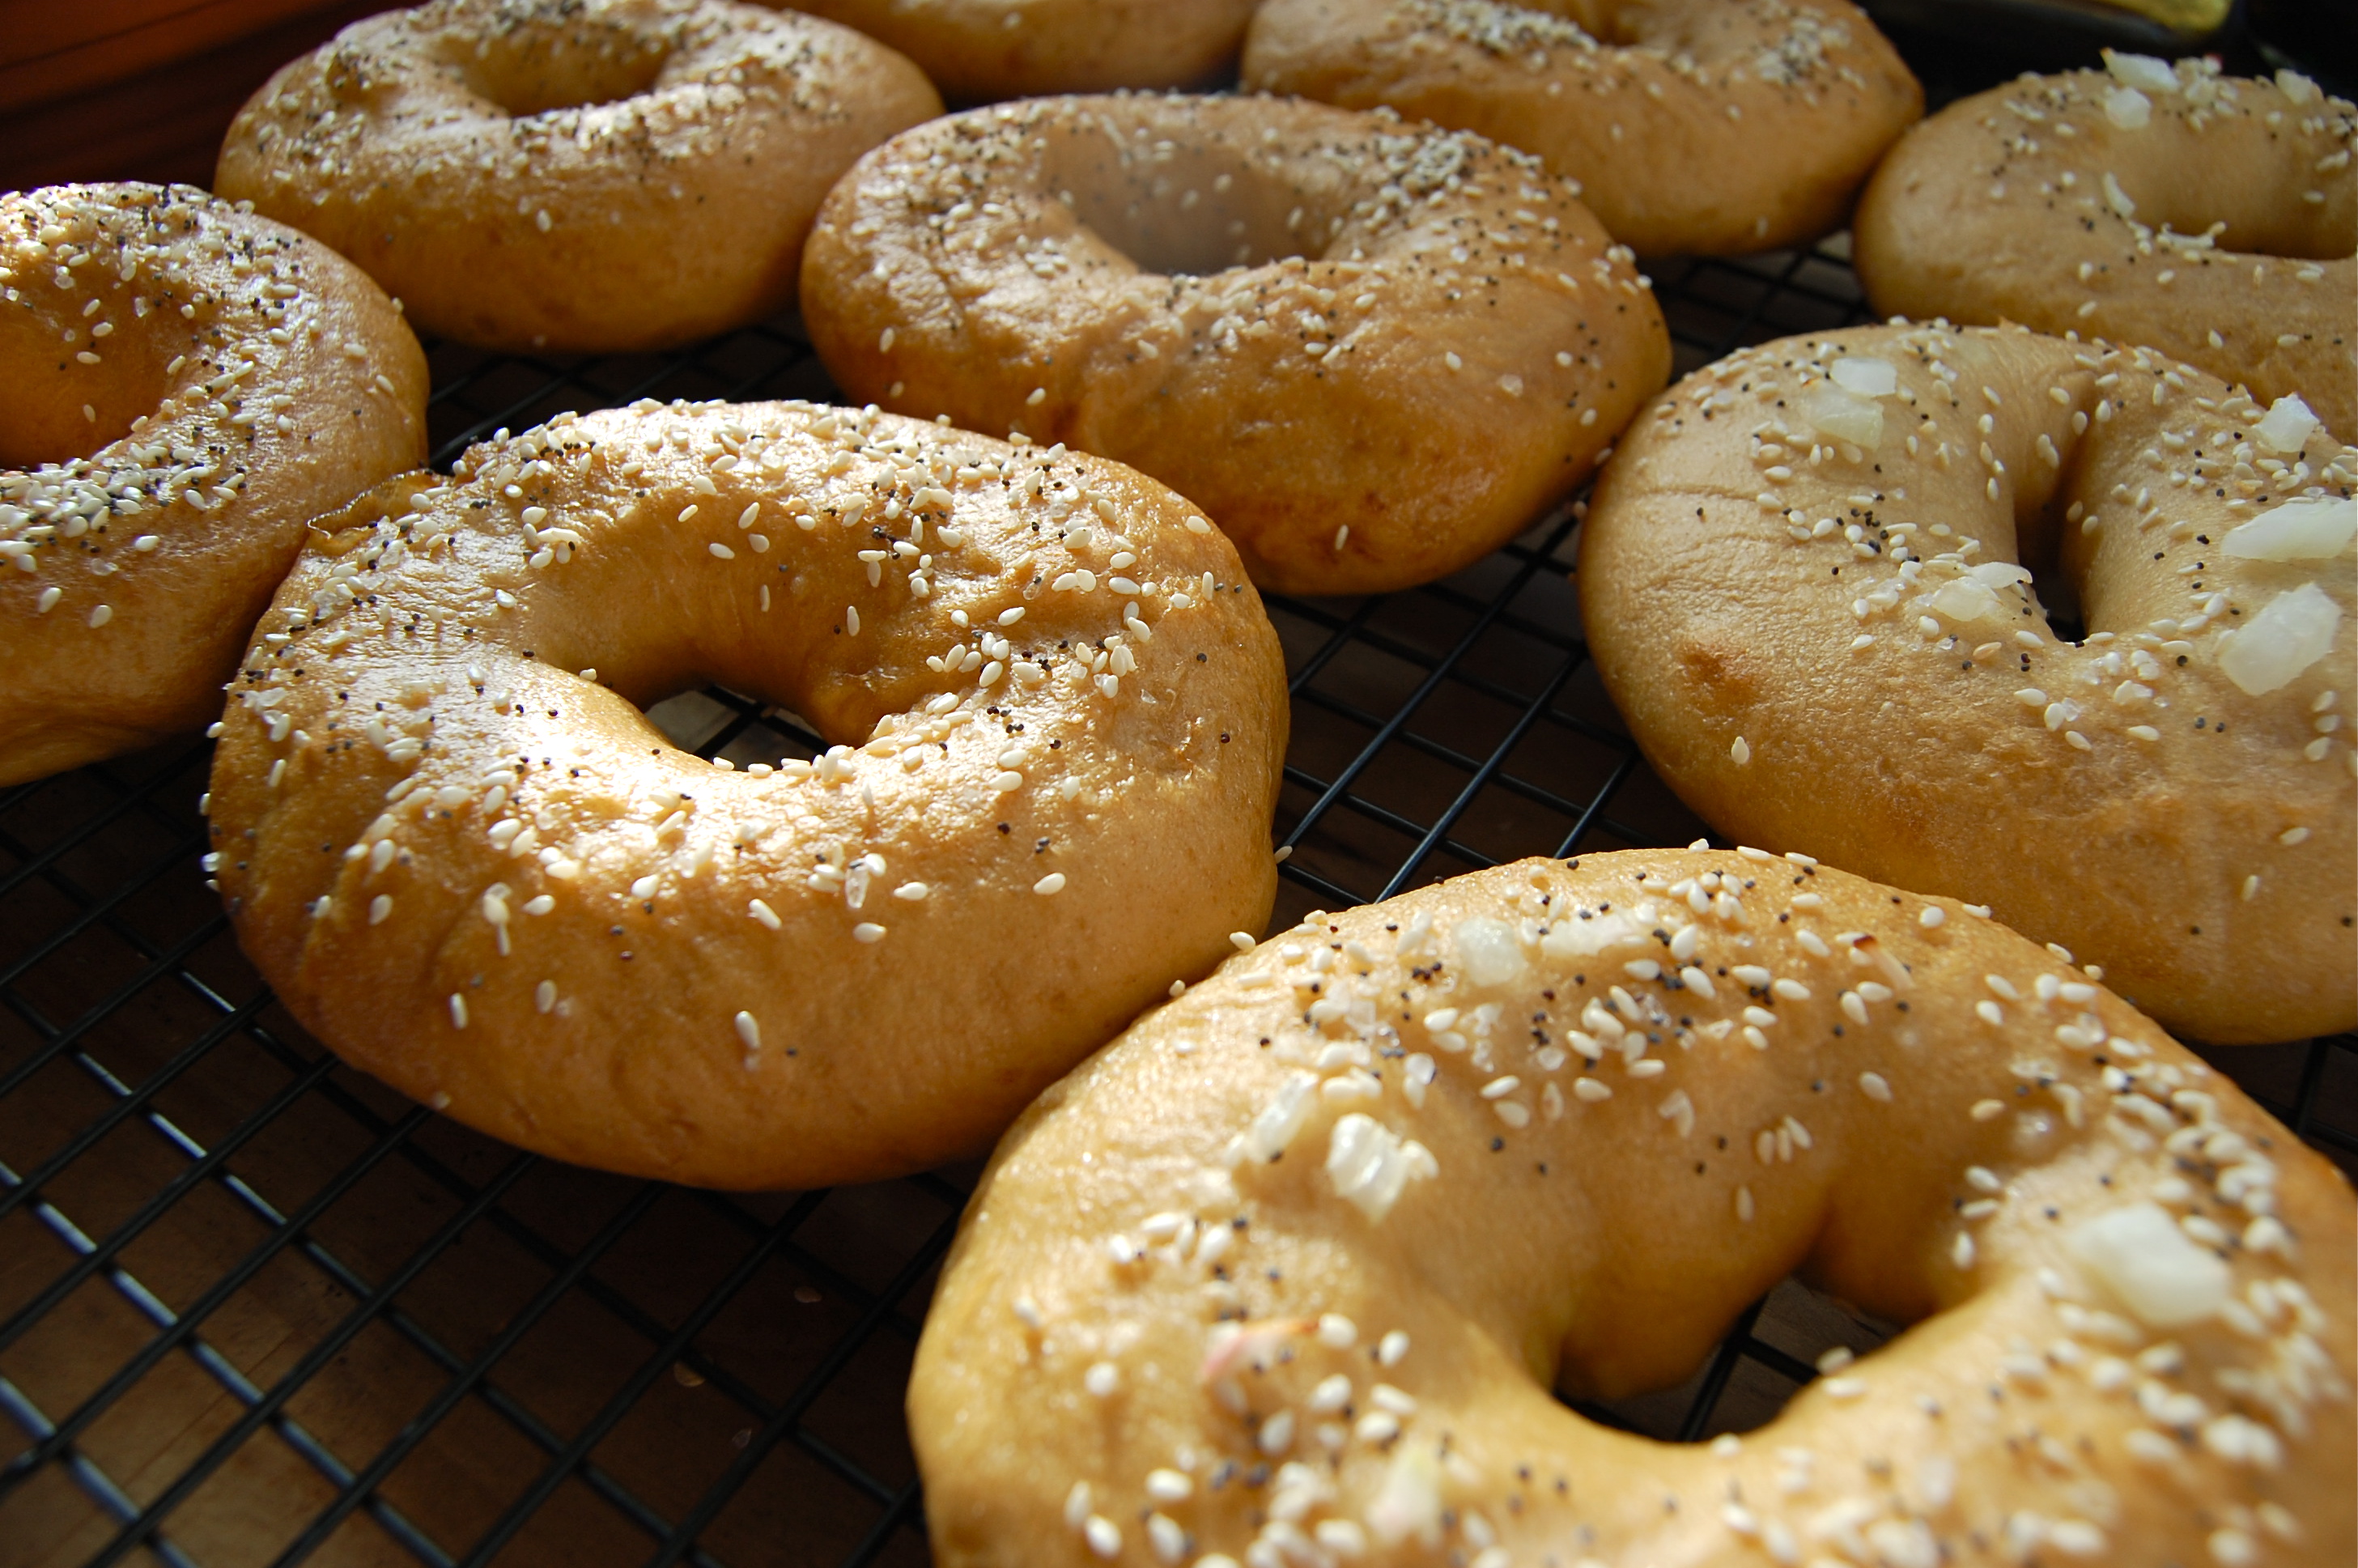
Topping ideas: Sea salt, poppy seeds,sesame seeds, dehydrated onion or garlic, rosemary, cinnamon sugar, flax seeds, and whatever else you feel like experimenting with!
This is a two day process, so prepare yourself for that! I started these on Saturday and they were ready right on time for Sunday Brunch.
Day one: Make your sponge. Stir together the yeast, water and flour to a thick, sticky paste. Cover the bowl with plastic wrap and let it sit for 2 hours until it’s super bubbly.

Two hours later…

In a mixer, or by hand, stir in the next 1/2 tsp yeast, salt and syrup of your choice (I used barley malt syrup). Slowly begin to work in the flour. This dough is very dense so don’t be afraid to keep adding flour. At times as you’re adding the dough may begin to feel dry, just keep kneading until everything is incorporated. Then get out your scale to start dividing.

You can either make 12 4 1/2 oz. bagels or 24 2 1/4 oz. mini bagels, I made the standard size. Divide up your dough into little balls, then cover them with plastic wrap or a damp towel for 20 minutes.

Now you have two options: 1) Poke a hole in the middle of the ball and rotate your finger around to stretch the hole to be 2″ wide. Or 2) roll out the ball to be about 8″ long and then bring together the two ends to form a ring. I went with option #1 to create a seamless bagel.
Put the doughy rings on parchment covered baking sheets, spray them with cooking spray and cover them with plastic wrap, allow them to sit out for 20 minutes.

After 20 minutes they should be ready to go into the fridge, but just to be sure, you can do the float test. Put one of the bagels into a bowl of cold water, if it floats to the surface within 10 seconds they are ready to be refrigerated.

You can refrigerate these for up to two days, but definitely give them at least 8 hours.
Day two: Preheat your oven to 500 degrees, take your bagels out of the fridge and get a big pot of water boiling on the stove. Add the 1 Tbsp of baking soda to the water, as well as 2-3 Tbsp of whatever syrup you chose to use (this is optional).
Boil each bagel 1-2 minutes per side, 2 minutes will make a chewier bagel, 1 minute will be softer. Right after you take the bagels out of the water get your toppings on – the moisture helps them to stick.

I used a slatted spatula to get them in and out of the water.

When all the bagels have been boiled, put them in the oven for 5 minutes. After 5 minutes, lower the temperature to 450 degrees and rotate the trays of bagels both 180 degrees and from one rack to the other. Bake the bagels another 5-10 minutes until your favorite shade of golden brown is achieved.
Get them on a cooling rack as soon as you can. Then enjoy with lox and cream cheese, eggs, or just plain old butter. They’ll be so delicious and you’ll be so proud of yourself!

Today we turned these into breakfast sandwiches: eggs, pepper jack cheese, bell pepper and onion. We had a lovely fruit salad on the side, I was bummed when one of the strawberries fell on the floor… until I captured this cuteness…

